
Print-Ready Files: Setting Up Your Artwork for Print
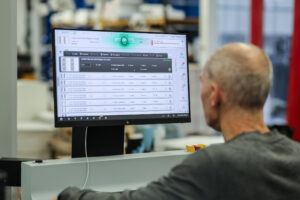
Creating a beautiful design is only half the journey. Making sure your artwork is set up correctly for print is what ensures your finished product looks exactly as you intended.
Whether you’re producing greeting cards, postcards, brochures or other promotional materials, taking a few extra minutes to prepare your files can save time and deliver the highest quality finish.
To help you get the very best from your print, we’ve put together our essential artwork setup checklist.
Set up your Resolution to 300 DPI
Resolution plays a huge role in print quality. Files created at 300 DPI (dots per inch) produce sharp text and crisp images. Artwork created on a lower resolution may appear blurry or pixelated once printed, even if it looks fine on screen.
Always work in CMYK
Screens display colours using RGB (red, green and blue), whereas commercial printers use CMYK (cyan, magenta, yellow and black). If your artwork is supplied in RGB, colours can shift during the conversion process, resulting in unexpected print colours.
Setting your document to CMYK from the start helps ensure the colours you design are much closer to the colours you’ll receive.
Black is Black – But Not Quite When it Comes to Print
When it comes to print, there’s more than one way to create black.
Applying 100% of all four CMYK colours will produce a black, but this can flood the page with ink and increase the risk of scratching or ink picking. For bold areas of black, we recommend using 100% K with 20% C, M and Y. This creates a rich black while using less ink and reducing the risk of picking or rubbing.
To make things more confusing, for fine areas of black, particularly on the backs of cards where you may have text or barcodes, we recommend setting the black using 100% K only, with no other colours. This helps improve registration and ensures fine details remain sharp, while still producing the black you’re looking for.
Add 3mm Bleed (and 2mm on Folds)
Bleed is the extra area that extends beyond the finished trim size. It ensures that backgrounds, images and colours continue right to the edge after trimming. We recommend a 3mm bleed on all outer edges and 2mm bleed around folds where applicable.
Without bleed, you risk unwanted white edges appearing on your finished product.
Keep Important Content within the Safe Area
While bleed extends beyond the trim, the safe area protects your important content. Keep all text, logos and essential design elements at least 5mm away from the edge of your artwork. This helps prevent anything important from being trimmed during production.
It’s important to allow for a small amount of movement during the finishing process. The cards we produce are machine finished, so while we always aim to be as precise as possible, industry-standard tolerances allow for up to 2mm of movement.
This is particularly important when working with elements such as borders or designs that sit close to the edge. As a result, we recommend keeping borders and other key design elements at least 5mm from the edge of the card. This means that if there is any slight movement during production, it is much less noticeable in the finished product.
Add a Unique Product Code
If you’re producing multiple products or collections, including a unique product code makes identification much easier throughout production, fulfillment and stock management.
It’s a small addition that can save a lot of confusion later on.
Make the most of the Reserve Side
The back of your product is valuable space that shouldn’t be overlooked. Consider including: your logo, brand name, contact details, website or social media, barcode and product information.
Not only does this add a professional finish, but it also reinforces your brand and makes your products easier to identify.
In Short…
Need a Hand? We’re here to Help!
Preparing artwork for print doesn’t have to be complicated. Whether you’re new to print or creating thousands of cards, our team is always here to advise on file setup before your artwork goes into production. Getting the technical details right from the start means fewer delays, better quality print and a finished product you can be proud of.
If you’re unsure about any aspect of your artwork, get in touch with a member of our team before sending your files. We’re more than happy to help!
Want to see how it works?
At The Imaging Centre, we make the print side of your business beautifully simple.
Create an account today and discover just how easy it is to go from design to doorstep.
-
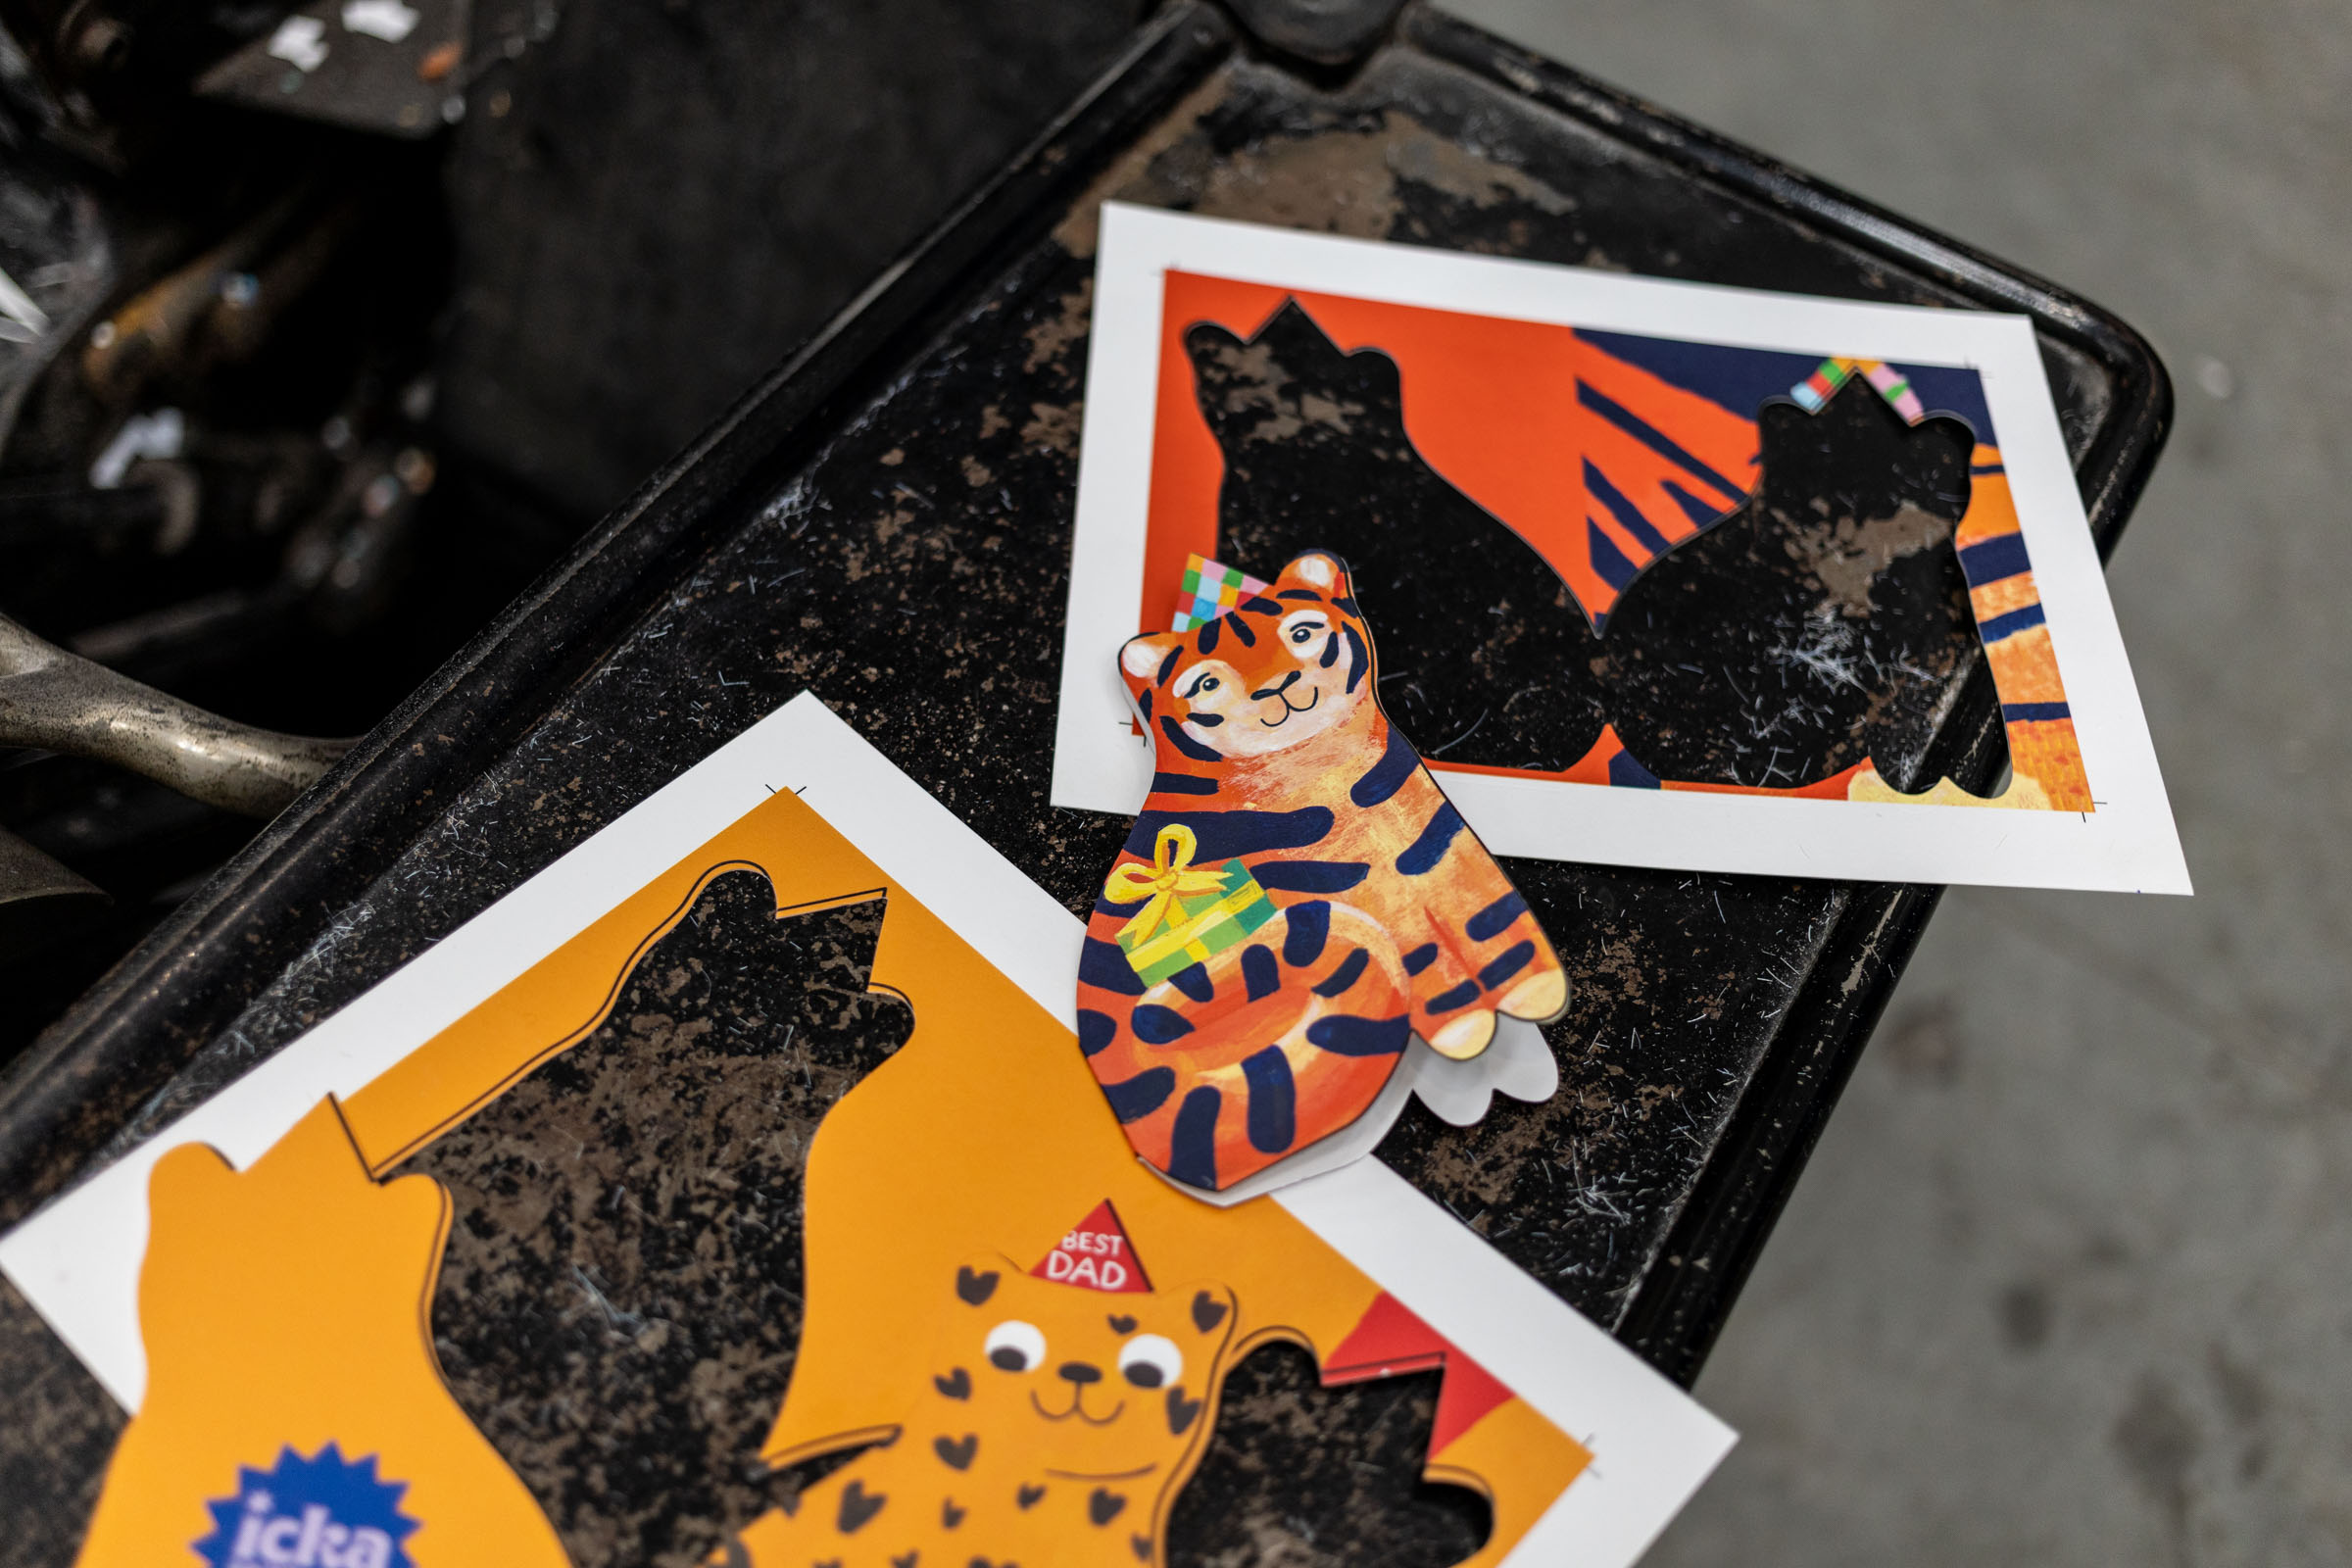
From Sketchbook to Shelf: Helping Independent Publishers Bring Ideas to Life
Every greeting card collection starts with an idea. It might begin as a quick sketch in a notebook, a hand-painted…
-
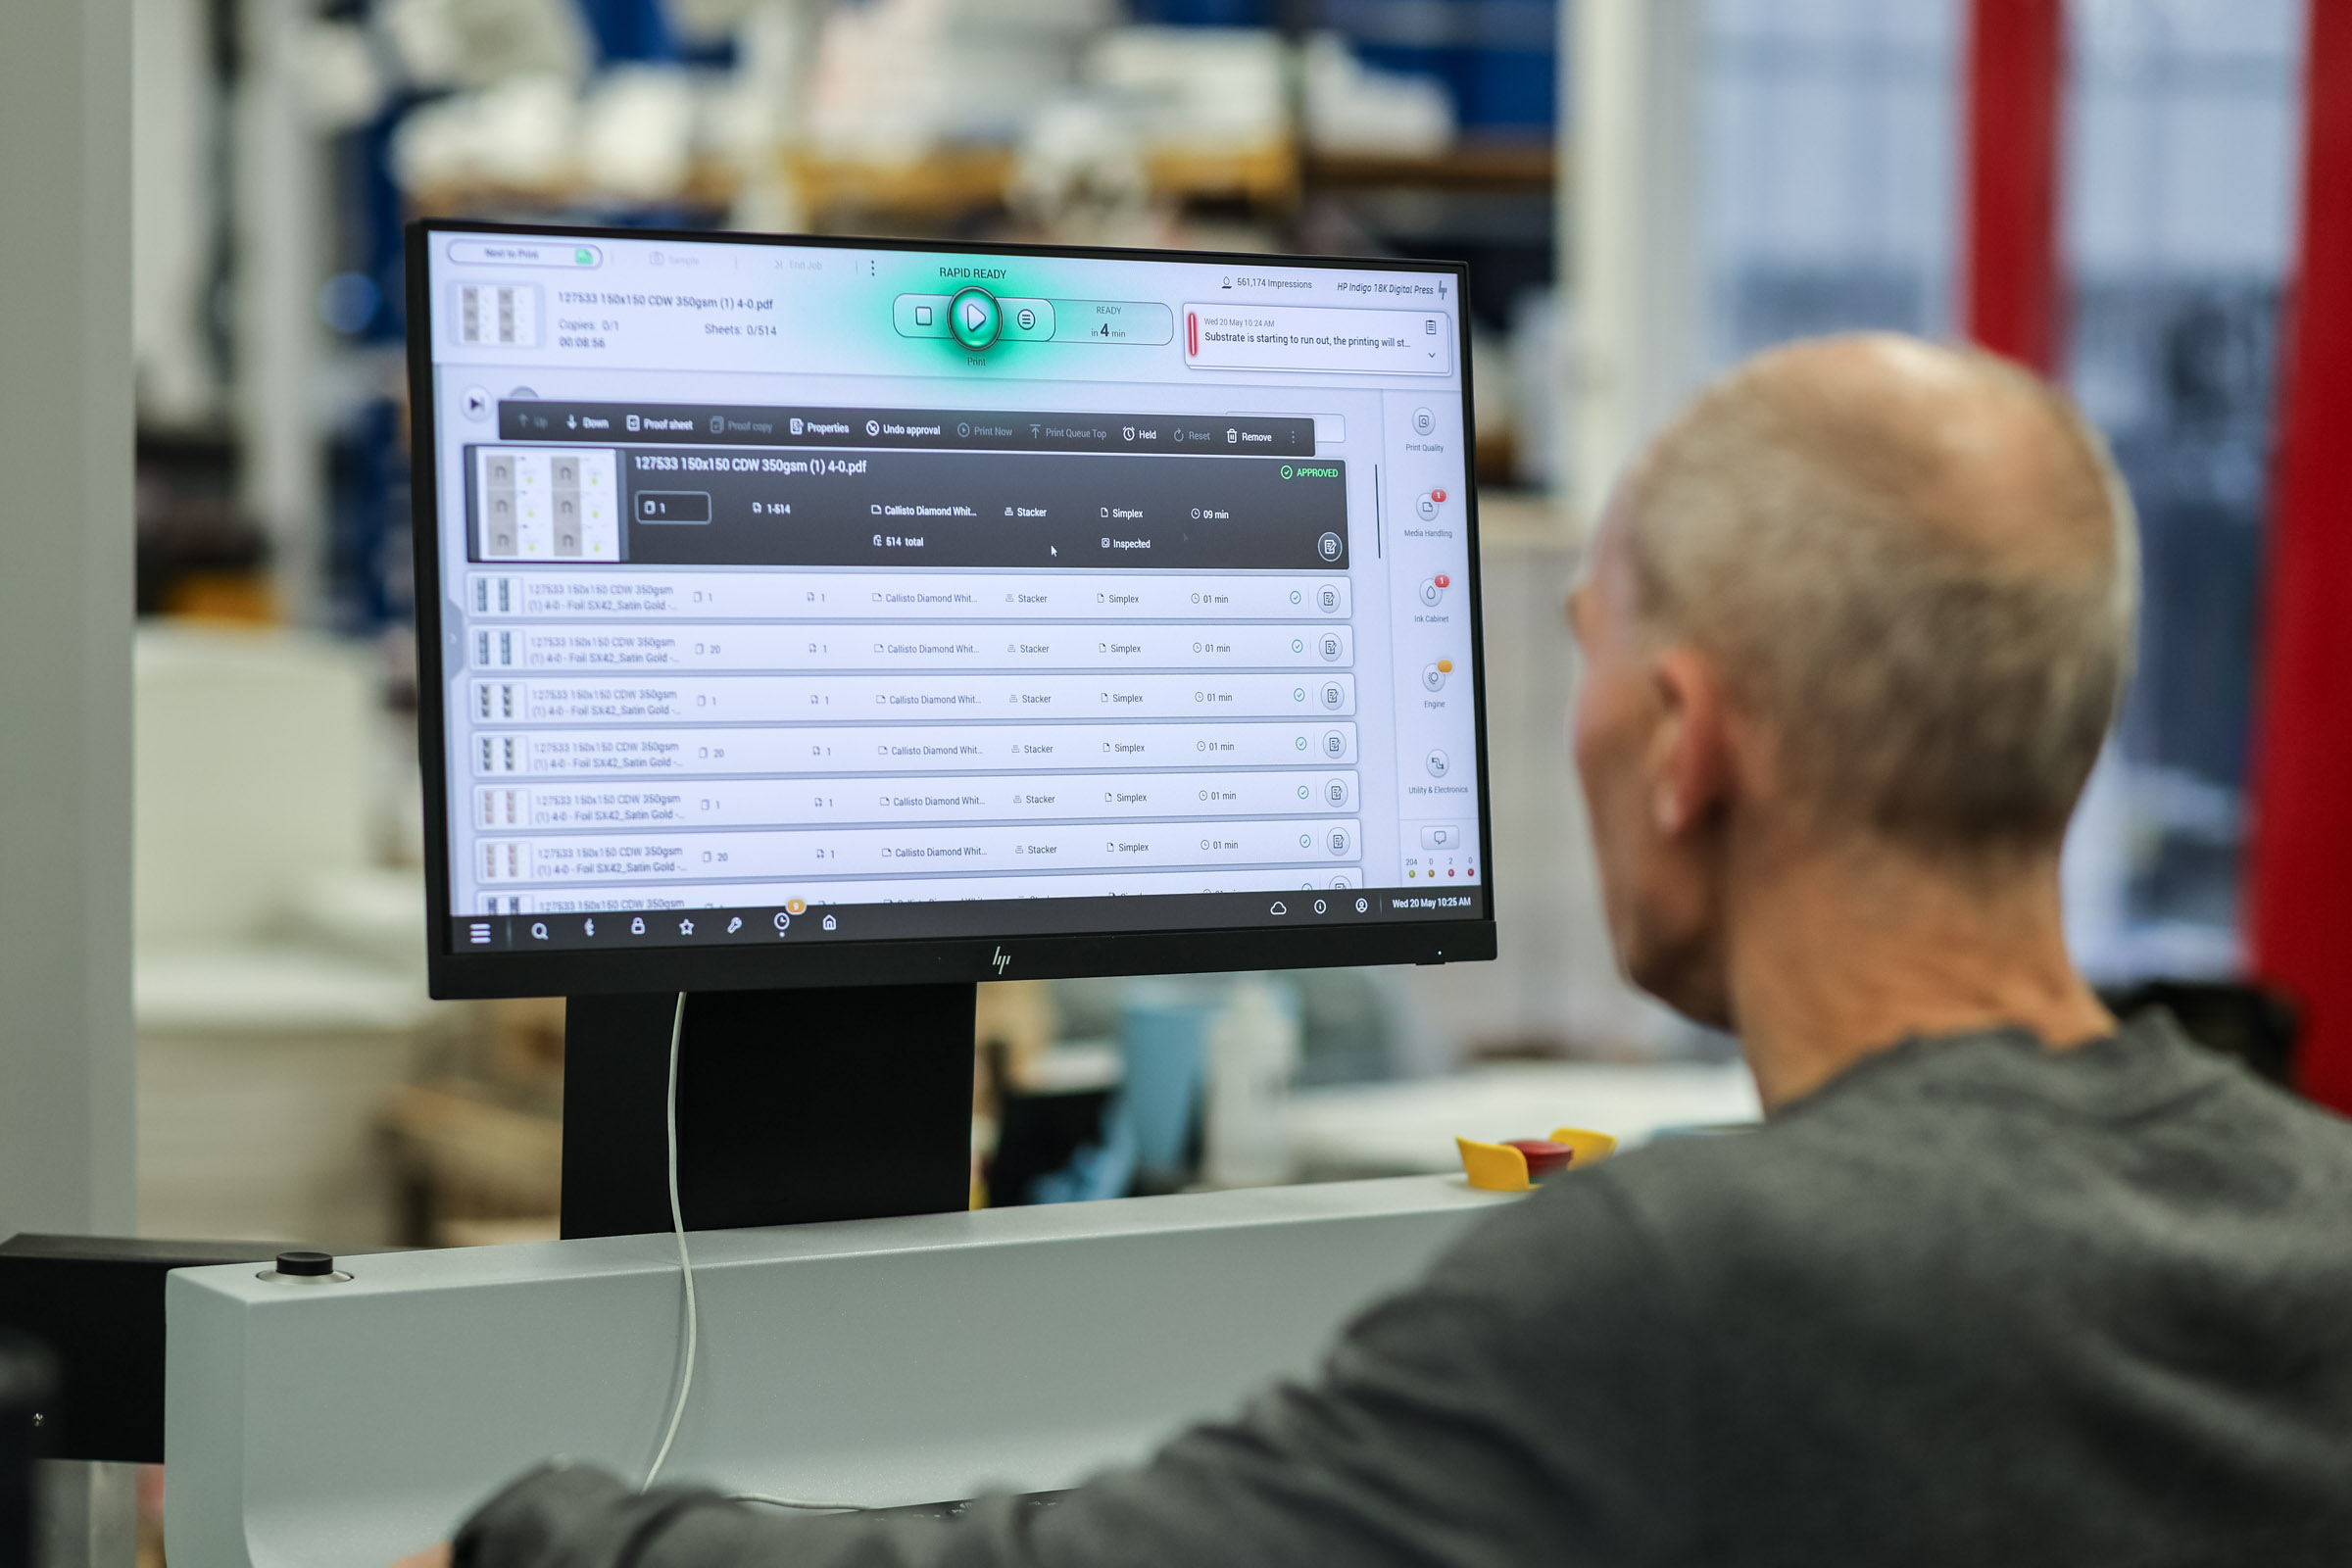
Print-Ready Files: Setting Up Your Artwork for Print
Creating a beautiful design is only half the journey. Making sure your artwork is set up correctly for print is…
-
Why Quality Print Keeps Customers Coming Back
In a world where first impressions matter more than ever, the quality of your printed products can make all the…